Are you facing the dreaded E02 error code on your water heater? Don’t worry, you’re not alone. This common issue can be frustrating, but we’re here to help you get your hot water flowing again. In this article, we’ll explore the possible causes of the E02 error code and provide step-by-step instructions on how to troubleshoot and fix it. So, whether you’re a DIY enthusiast or just looking to save some money on repair costs, read on to discover the solutions to this nagging problem.
Key Takeaways:
- The E02 error code on a water heater can be caused by a high water temperature setting, defective thermostats, shorted heating elements, or burnt connectors on the control module.
- To fix the E02 error code, you may need to adjust the water temperature, reset the high limit switch, replace defective thermostats or heating elements, and potentially replace a faulty control board or module.
- It’s important to check and adjust the water temperature setting on your water heater, keeping it within a safe range to prevent the high limit switch from tripping.
- Testing the thermostats and heating elements for continuity can help identify any defects and determine whether replacement is necessary.
- Burnt connectors on the control module or a faulty control board may require replacement, and you should consult the manufacturer for further guidance or warranty coverage.
Adjusting the Water Temperature Setting
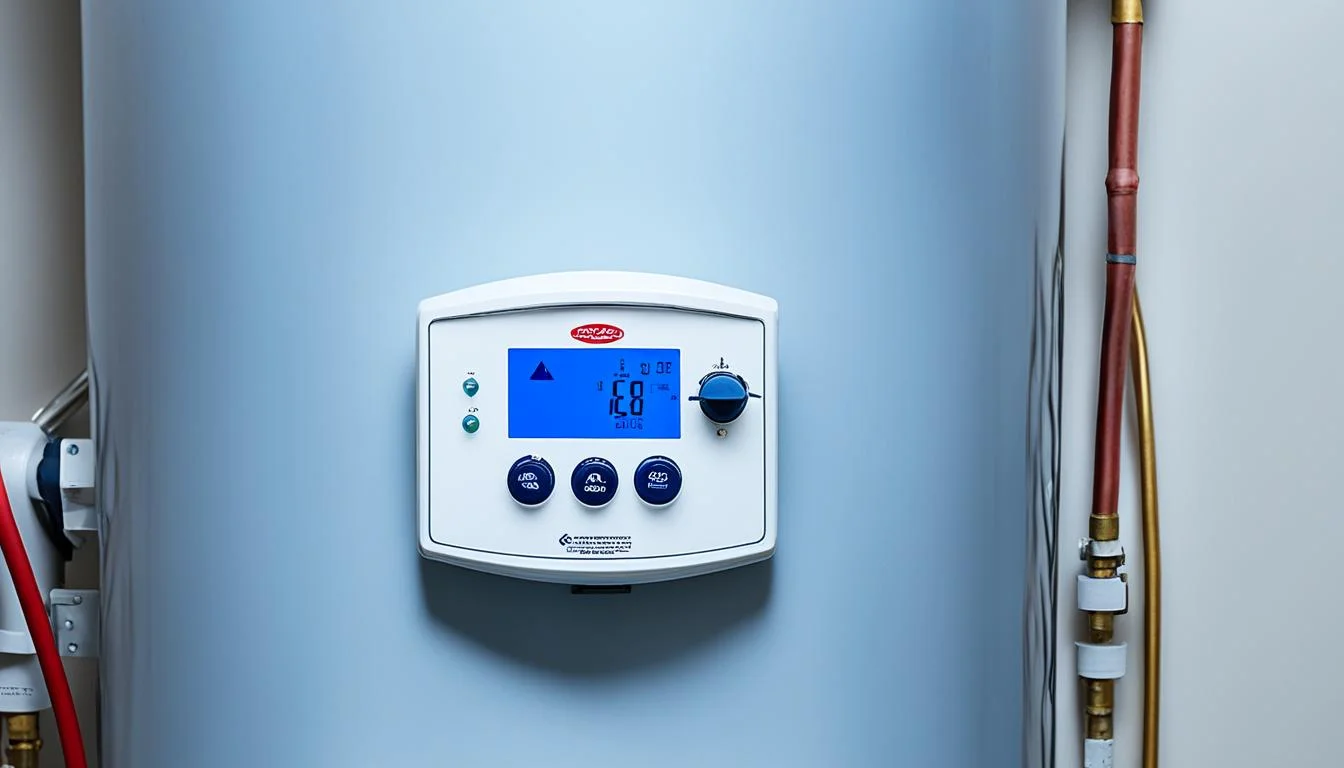
One possible cause of the E02 error code is that the water temperature is set too high. The high limit switch, a safety mechanism, trips when the water temperature exceeds a certain limit. To fix this issue, you can check the temperature setting on your water heater and adjust it if necessary. The default temperature setting is typically 120°F (49°C), but you can increase or decrease it within a certain range. It’s important to avoid setting the temperature too high to prevent the high limit switch from tripping.
Adjusting the water heater temperature setting is straightforward. Here’s a step-by-step guide:
- Locate the temperature dial on your water heater. It is usually marked with numerical values or temperature ranges.
- Use a screwdriver or your fingers to change the temperature setting. Turn it clockwise to increase the temperature or counterclockwise to decrease it. Make small adjustments to avoid sudden temperature changes.
- Refer to the user manual or the manufacturer’s guidelines for the recommended temperature range for your specific water heater model.
- Once you’ve adjusted the temperature, wait for a few hours to allow the water heater to stabilize at the new setting.
- Test the water temperature at a faucet to ensure it’s at the desired level. Be cautious when using hot water to prevent scalding.
It’s important to note that while adjusting the temperature can help resolve the E02 error code, it’s essential to find a balance between hot water availability and safety. Setting the temperature too low may result in insufficient hot water, while setting it too high can increase the risk of burns and accidents.
Remember to always follow the manufacturer’s instructions and consult a professional if you’re unsure about making adjustments to your water heater.
Temperature Setting Recommendations
To maintain a balance between comfort and safety, consider the following temperature setting recommendations:
| Target Application | Recommended Temperature Range |
|---|---|
| General Household Use | 120-140°F (49-60°C) |
| Child Safety | Below 120°F (49°C) |
| Senior Safety | Below 120°F (49°C) |
| Reducing Energy Consumption | 120-130°F (49-54°C) |
Keep in mind that these recommendations may vary based on individual preferences, local regulations, and the specific needs of your household. Consider factors such as the presence of young children, elderly individuals, or individuals with limited mobility when determining the ideal water temperature setting.
Checking and Replacing Defective Thermostats or Heating Elements
Another possible cause of the E02 error code is a defective thermostat or a shorted heating element. Thermostats control the temperature of the water, and if they are not functioning properly, the high limit switch may trip, resulting in the error code.
To fix this issue, you can test the thermostats for continuity using a multimeter and replace them if necessary. Here’s a step-by-step guide to help you:
- Step 1: Disconnect the power supply to the water heater.
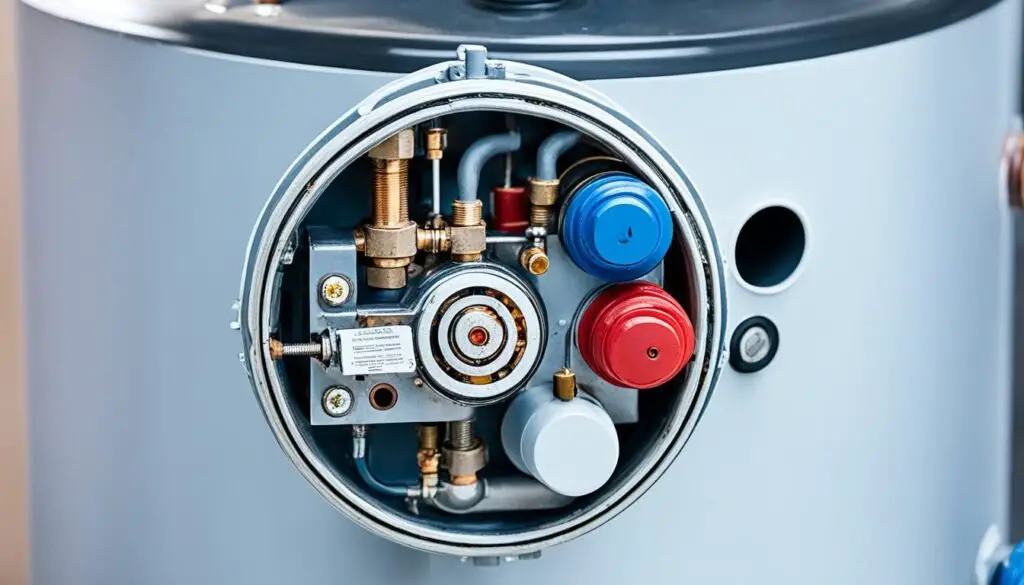
- Step 2: Access the thermostat panel, usually located on the side of the water heater.
- Step 3: Use a multimeter set to the continuity or resistance mode.
- Step 4: Remove the wires connected to the thermostat terminals.
- Step 5: Place the multimeter probes on the thermostat terminals.
- Step 6: Check for continuity or resistance. If there is no continuity or an unexpected resistance reading, the thermostat is defective.
- Step 7: If the thermostat is defective, purchase a new one with the same part number.
- Step 8: Install the new thermostat, reconnect the wires, and ensure they are secure.
In addition to testing the thermostats, it is also important to check the heating elements. Follow these steps to test the heating elements:
- Step 1: Disconnect the power supply to the water heater.
- Step 2: Locate the heating element access panels.
- Step 3: Use a multimeter set to the continuity or resistance mode.
- Step 4: Remove the wires connected to the heating element terminals.
- Step 5: Place the multimeter probes on the terminal screws.
- Step 6: Check for continuity or resistance. If there is no continuity or an unexpected resistance reading, the heating element is faulty.
- Step 7: If the heating element is faulty, purchase a new one with the same specifications.
- Step 8: Install the new heating element, reconnect the wires, and ensure they are secure.
Remember to match the part numbers and specifications when replacing defective thermostats or heating elements to ensure compatibility with your water heater model.
| Thermostat Testing Steps | Heating Element Testing Steps |
|---|---|
| Step 1: Disconnect power | Step 1: Disconnect power |
| Step 2: Access thermostat panel | Step 2: Locate heating element access panels |
| Step 3: Set multimeter to continuity or resistance mode | Step 3: Set multimeter to continuity or resistance mode |
| Step 4: Remove wires from thermostat terminals | Step 4: Remove wires from heating element terminals |
| Step 5: Place multimeter probes on thermostat terminals | Step 5: Place multimeter probes on heating element terminal screws |
| Step 6: Check for continuity or resistance | Step 6: Check for continuity or resistance |
| Step 7: Replace defective thermostat if necessary | Step 7: Replace faulty heating element if necessary |
| Step 8: Install new thermostat and reconnect wires | Step 8: Install new heating element and reconnect wires |
Addressing Burnt Connectors and Faulty Control Board
In certain cases, the E02 error code on your water heater may be attributed to burnt connectors on the control module or a faulty control board. Burnt connectors can lead to a sudden temperature spike, triggering the high limit switch and resulting in the E02 error code. Similarly, a malfunctioning control board can be the root cause of various error codes, including E02.
To resolve these issues, you may need to replace either the burnt connectors or the entire control board. It is important to verify whether the control board is still covered by warranty or consult the manufacturer for further assistance. Replacing burnt connectors should be done with caution to ensure proper connectivity and prevent future issues.
If you are unsure about the extent of the problem or the steps needed to replace the control board or burnt connectors, it is recommended to seek professional help from a qualified technician. They can accurately diagnose the problem, provide appropriate solutions, and ensure the safe operation of your water heater.
FAQ
How can I fix the E02 error code on my water heater?
The E02 error code on a water heater can be fixed by adjusting the water temperature setting, resetting the high limit switch, replacing defective thermostats or heating elements, and potentially replacing a faulty control board or module. See the troubleshooting steps below for more detailed instructions.
How do I adjust the water temperature setting on my water heater?
To adjust the water temperature setting on your water heater, locate the temperature dial or control on the unit. Use a screwdriver or your hand to turn the dial and increase or decrease the temperature as needed. Remember to avoid setting the temperature too high to prevent the high limit switch from tripping.
What should I do if the high limit switch keeps tripping?
If the high limit switch keeps tripping and triggering the E02 error code, you can try resetting the switch. Locate the high limit switch on your water heater—usually a red button—and press it firmly to reset it. If the issue persists, it may indicate a more significant problem and require professional assistance.
How do I test and replace defective thermostats or heating elements?
To test defective thermostats, you will need a multimeter. Turn off the power to the water heater and remove the access panel to access the thermostats. Test each thermostat for continuity using the multimeter. If a thermostat fails the continuity test, it is defective and needs to be replaced. Similarly, to test heating elements, turn off the power and use the multimeter to measure continuity or resistance. Replace any faulty heating elements with compatible replacements.
What should I do if I notice burnt connectors on the control module?
If you notice burnt connectors on the control module of your water heater, it can cause the E02 error code. In this case, you will need to replace the burnt connectors. If the issue persists after replacing the connectors, it may indicate a faulty control board. Consult the manufacturer or a professional technician to determine if the control board needs to be replaced.


Leave a Reply