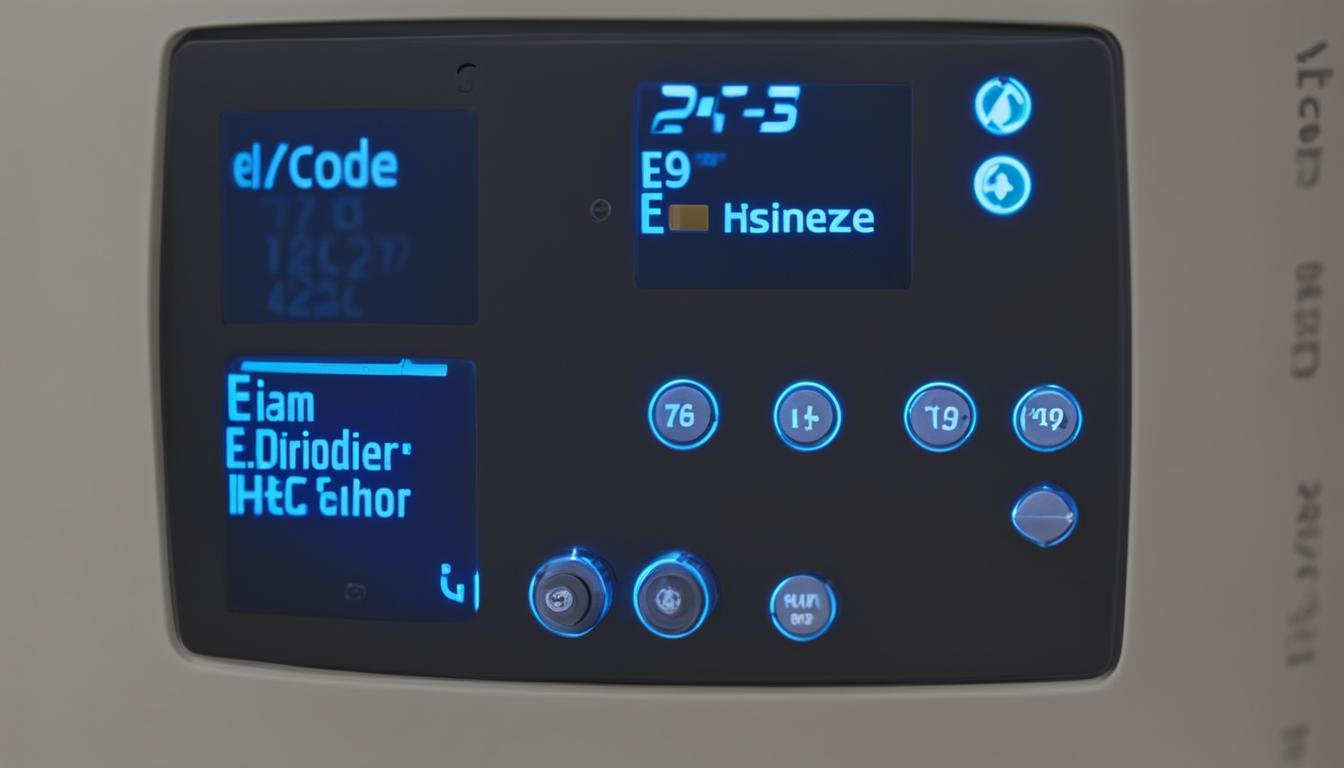
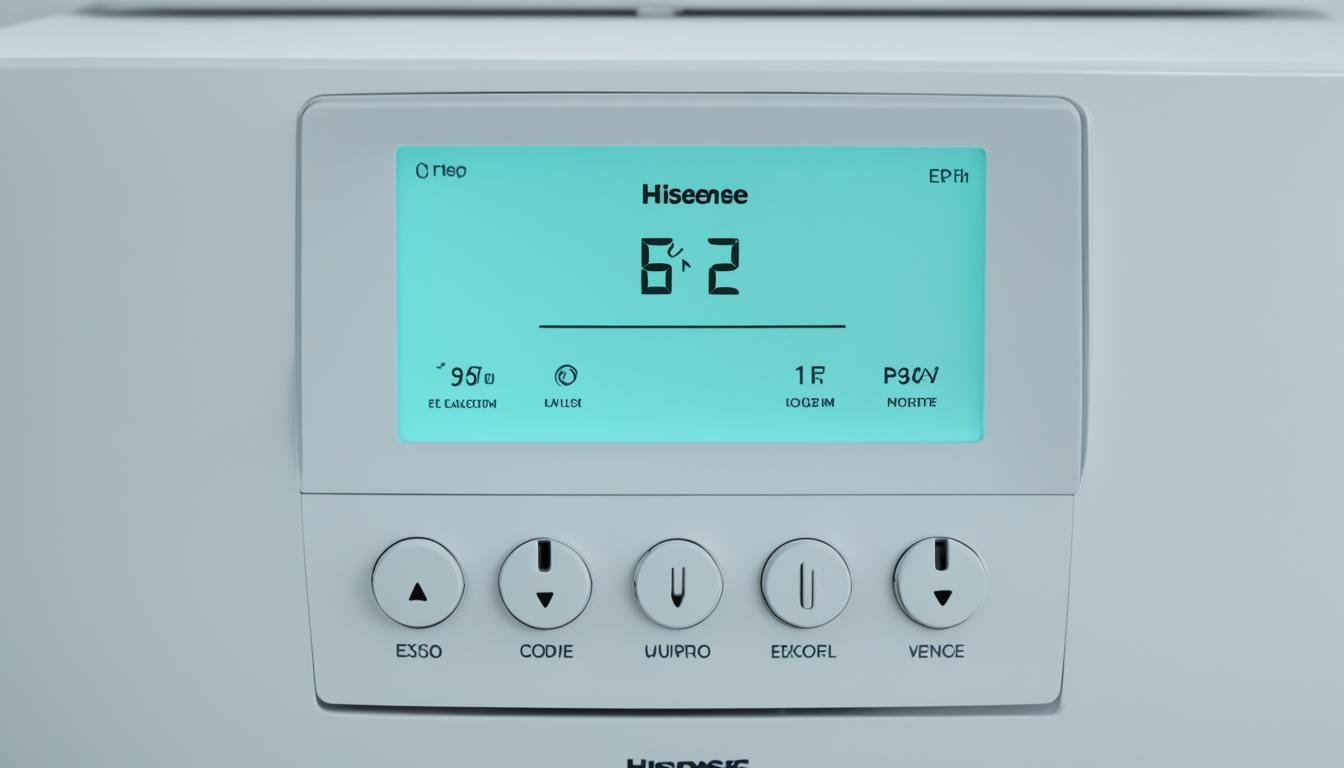
Is your Hisense dehumidifier displaying error code e9? Don’t worry, you’re not alone. Many users encounter this error, wondering what went wrong and how to fix it. But fear not, we’re here to guide you through the troubleshooting process and help you get your dehumidifier back to optimal performance.
A Hisense dehumidifier error code e9 is an indication of a problem with the humidity sensor in the unit. This error can occur due to a faulty sensor, a loose wire connection, or a circuit board issue. To resolve this error and ensure your dehumidifier is working efficiently again, it’s important to follow the correct troubleshooting steps.
So, how can you fix the Hisense dehumidifier error code e9? Let’s dive in and find out!
Key Takeaways:
- A Hisense dehumidifier error code e9 indicates a problem with the humidity sensor.
- Troubleshooting steps include checking wire connections, measuring sensor resistance, and cleaning filters.
- If troubleshooting doesn’t work, you may need to replace the humidity sensor.
- Always consult the user manual or contact a certified Hisense technician for assistance.
- Regular maintenance and cleaning can help prevent future errors and extend the lifespan of your dehumidifier.
Common Causes and Troubleshooting Steps for Hisense Dehumidifier Error Code E9
The error code e9 on a Hisense dehumidifier can be frustrating, but understanding the common causes and following the troubleshooting steps can help you resolve the issue. Error code e9 typically indicates a problem with the humidity sensor, wire connections, or the circuit board.
Common Causes of Hisense Dehumidifier Error Code E9:
- Faulty humidity sensor
- Loose wire connection or pins
- Circuit board malfunction
When encountering error code e9, here are the troubleshooting steps you can take to resolve the issue:
- Check the wire connection and pins: Ensure that all wire connections are secure and free from damage. Tighten any loose pins to establish a proper connection.
- Measure the resistance of the sensor wires: Use a multimeter to measure the resistance of the humidity sensor wires. If the resistance is significantly different from the specified range, consider replacing the sensor.
- Clean the air filter: A clogged air filter can cause inaccurate humidity readings. Remove the air filter and clean it according to the manufacturer’s instructions.
- Clean the condenser coils: Dirty condenser coils can negatively affect the dehumidifier’s performance. Gently clean the coils using a soft brush or vacuum cleaner to remove any dirt or debris.
- Perform a reset: Sometimes, a simple reset can clear minor glitches. Unplug the dehumidifier from the power source, wait for a few minutes, and then plug it back in.
If these troubleshooting steps do not resolve the e9 error code, it is recommended to contact a certified Hisense technician for further assistance. They will have the expertise to diagnose and fix any complex issues that may require professional attention.
Replacing the Humidity Sensor on a Hisense Dehumidifier
If the troubleshooting steps for the e9 error code on your Hisense dehumidifier do not resolve the issue, it may be necessary to replace the humidity sensor. Here’s a step-by-step guide on how to replace the sensor:
1. Unplug the dehumidifier and ensure it is powered off.
2. Remove the water collection bucket, air filter, front grille, back panel, and outer case of the dehumidifier. This will give you access to the internal components.
3. Carefully disconnect the wires connected to the faulty humidity sensor. Take note of their positions for reassembly.
4. Locate the humidity sensor, usually positioned near the evaporator fins. Remove the sensor from its place by gently pulling it away from the fins.
5. Install the new humidity sensor by placing it in front of the evaporator fins. Ensure it is properly aligned and securely attached.
6. Reconnect the wires of the new humidity sensor to the control board, following the notes taken in step 3.
7. Reassemble the dehumidifier by putting back the outer case, back panel, front grille, air filter, and water collection bucket.
8. Plug the dehumidifier back into a power source and turn it on to see if the error code e9 has been cleared.
If you’re uncertain or uncomfortable with replacing the humidity sensor yourself, it is advisable to contact a certified technician from Hisense for assistance. They will have the expertise to diagnose the issue accurately and provide the necessary repairs or replacements to ensure your dehumidifier functions properly.
FAQ
What does the Hisense dehumidifier error code e9 mean?
The error code e9 on a Hisense dehumidifier indicates a problem with the humidity sensor.
What are some common causes of the Hisense dehumidifier error code e9?
The e9 error code in a Hisense dehumidifier can be caused by a faulty humidity sensor, a loose wire connection or pins, or a circuit board issue.
How can I troubleshoot the Hisense dehumidifier error code e9?
You can try checking the wire connection and pins, measuring the resistance of the sensor wires, cleaning the air filter and condenser coils, and performing a reset of the dehumidifier to troubleshoot the e9 error code.
How do I replace the humidity sensor on a Hisense dehumidifier?
To replace the humidity sensor, unplug the dehumidifier and remove the water collection bucket, air filter, front grille, back panel, and outer case. Disconnect the wires of the faulty sensor, remove it from the evaporator fins, and install the new humidity sensor by placing it in front of the evaporator fins and reconnecting the wires to the control board. Finally, reassemble the dehumidifier and plug it back in to check if the error code has been cleared.

Leave a Reply