Have you ever encountered error codes on your Hisense dehumidifier and wondered how to fix them? Error codes can be frustrating and confusing, especially when you don’t know what they mean or how to resolve them. But fear not! In this article, we will uncover the secrets to fixing Hisense dehumidifier error codes, empowering you to troubleshoot and resolve common issues with ease.
Key Takeaways
- Hisense dehumidifiers may encounter error codes that indicate issues with the appliance.
- One common error code is E9, which is related to a problem with the humidity sensor.
- Faulty sensor, loose wire connection, or damaged circuit board can cause error codes to appear.
- Understanding the meaning of the error codes and following step-by-step instructions can help you resolve common issues.
- If unsure, it’s best to seek the help of a qualified technician for repair.
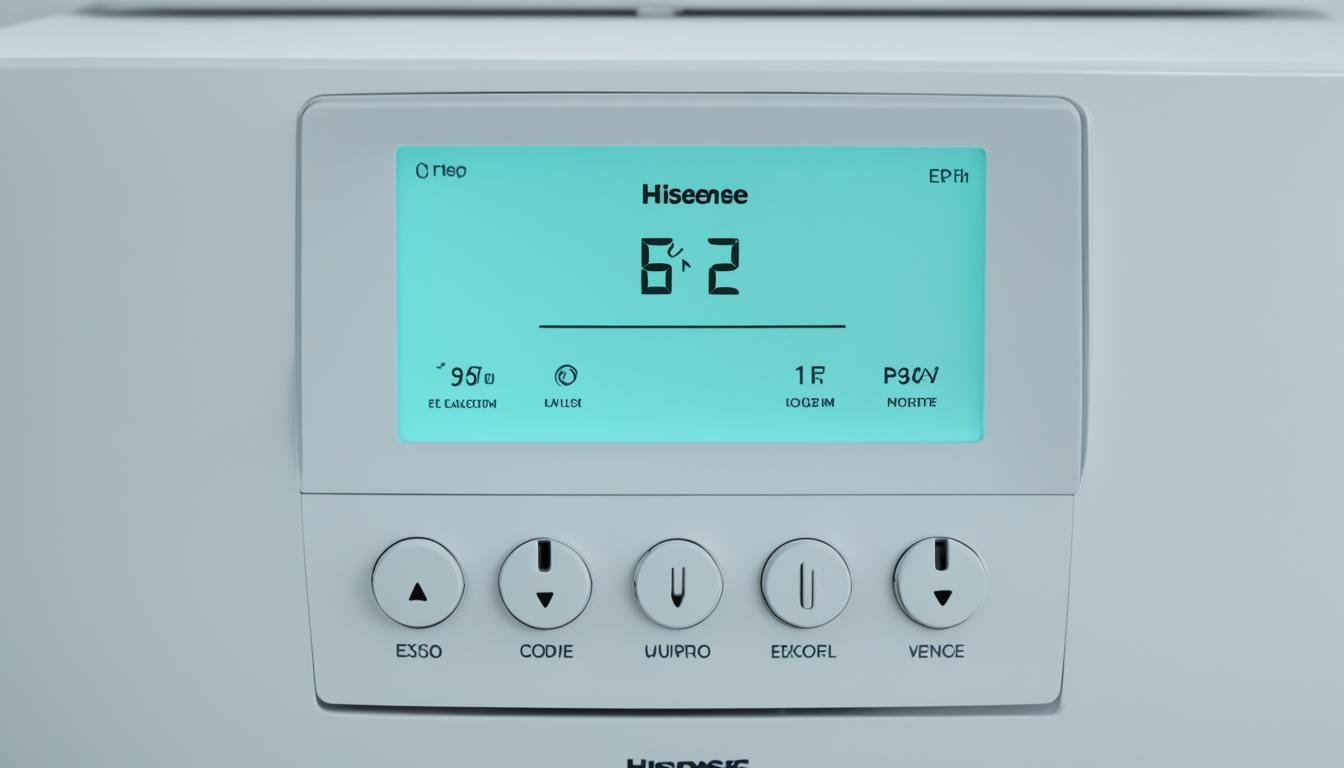
What Does E9 Mean on Hisense Dehumidifier?
The E9 error code on a Hisense dehumidifier indicates a failure in the humidity sensor. The humidity sensor plays a crucial role in maintaining the proper humidity level in your home, ensuring a comfortable living environment. When the sensor malfunctions or experiences poor wire connections, it triggers the E9 error code, signaling the need for troubleshooting and repair.
The humidity sensor in a Hisense dehumidifier measures the moisture content in the air and adjusts the dehumidifier’s operation accordingly. It helps prevent excessive humidity which can lead to mold growth, musty odors, and damage to your home and belongings. However, if the sensor becomes faulty or encounters issues such as loose wires, it can inaccurately detect the humidity levels, resulting in the E9 error code.
To diagnose the exact cause of the E9 error code, a thorough inspection of the humidity sensor and its connections is necessary. This involves checking for loose or damaged wires, ensuring proper wire connections, and examining the sensor for any signs of damage or contamination.
“The E9 error code on a Hisense dehumidifier is a clear indication that there is an issue with the humidity sensor, which can significantly impact the appliance’s performance. It’s crucial to address this error code promptly to maintain a comfortable and healthy indoor environment.” – Hisense Product Specialist
Understanding the meaning of the E9 error code is essential for troubleshooting and resolving the issue effectively. In the next section, we will provide step-by-step instructions on how to fix the E9 error code on a Hisense dehumidifier, ensuring optimal performance and humidity control.
How to Fix Error E9 on Hisense Dehumidifier?
Fixing the E9 error code on a Hisense dehumidifier is a simple process that involves a few steps. By following these instructions, you can troubleshoot and resolve the error, ensuring your dehumidifier functions properly.
Inspect Wire Connections and Pins
Begin by examining the wire connections and pins of your Hisense dehumidifier. Look for any loose wires or bent pins that might be causing the sensor to malfunction. If you notice any issues, gently reposition the wires or straighten the pins.
Check Resistance of the Wires
Next, you’ll need a multimeter to measure the resistance of the wires. Connect the multimeter probes to the wire ends and check the resistance. Compare the measured values with the expected values for the sensor. If the resistance significantly differs, it’s an indication of a faulty sensor that needs replacement.
Replace the Faulty Sensor
If the previous steps indicate a faulty sensor, you’ll need to replace it. Contact your local Hisense customer service or refer to the user manual to determine the exact sensor model required for your dehumidifier. Once you have the replacement sensor, carefully disconnect the old sensor and install the new one according to the manufacturer’s instructions.
Following these steps should help you fix the E9 error code on your Hisense dehumidifier. However, if you’re unsure about any repairs or encounter difficulties during the process, it’s recommended to seek assistance from a qualified technician.
Conclusion
Troubleshooting and fixing error codes on your Hisense dehumidifier can be done with relative ease. By understanding the meaning behind these error codes and following the step-by-step instructions provided, you can effectively resolve common issues such as the E9 error code.
When encountering an error code, remember to first check the wire connections to ensure they are secure. Loose connections can lead to sensor malfunctions and error code triggers. Secondly, be sure to inspect the humidity sensor for any damages or faulty components. If necessary, replace the sensor to restore optimal functionality.
If you’re unsure about making any repairs yourself, it’s always recommended to seek the assistance of a qualified technician. Their expertise can help identify the root cause of the error code and provide a timely solution. Don’t forget that regular maintenance and troubleshooting are essential for keeping your Hisense dehumidifier running smoothly and efficiently for years to come.
I wait for your response
FAQ
What are some common Hisense dehumidifier error codes?
Common Hisense dehumidifier error codes include E1, E2, E5, and H1.
What does the E9 error code mean on a Hisense dehumidifier?
The E9 error code on a Hisense dehumidifier indicates a failure in the humidity sensor.
How do I fix the E9 error code on my Hisense dehumidifier?
To fix the E9 error code on a Hisense dehumidifier, you should inspect the wire connections and pins for any issues and check the resistance of the wires using a multimeter. If necessary, replace any faulty components.
What should I do if I encounter other error codes on my Hisense dehumidifier?
If you encounter other error codes on your Hisense dehumidifier, consult the user manual for troubleshooting steps or seek the help of a qualified technician.
Leave a Reply