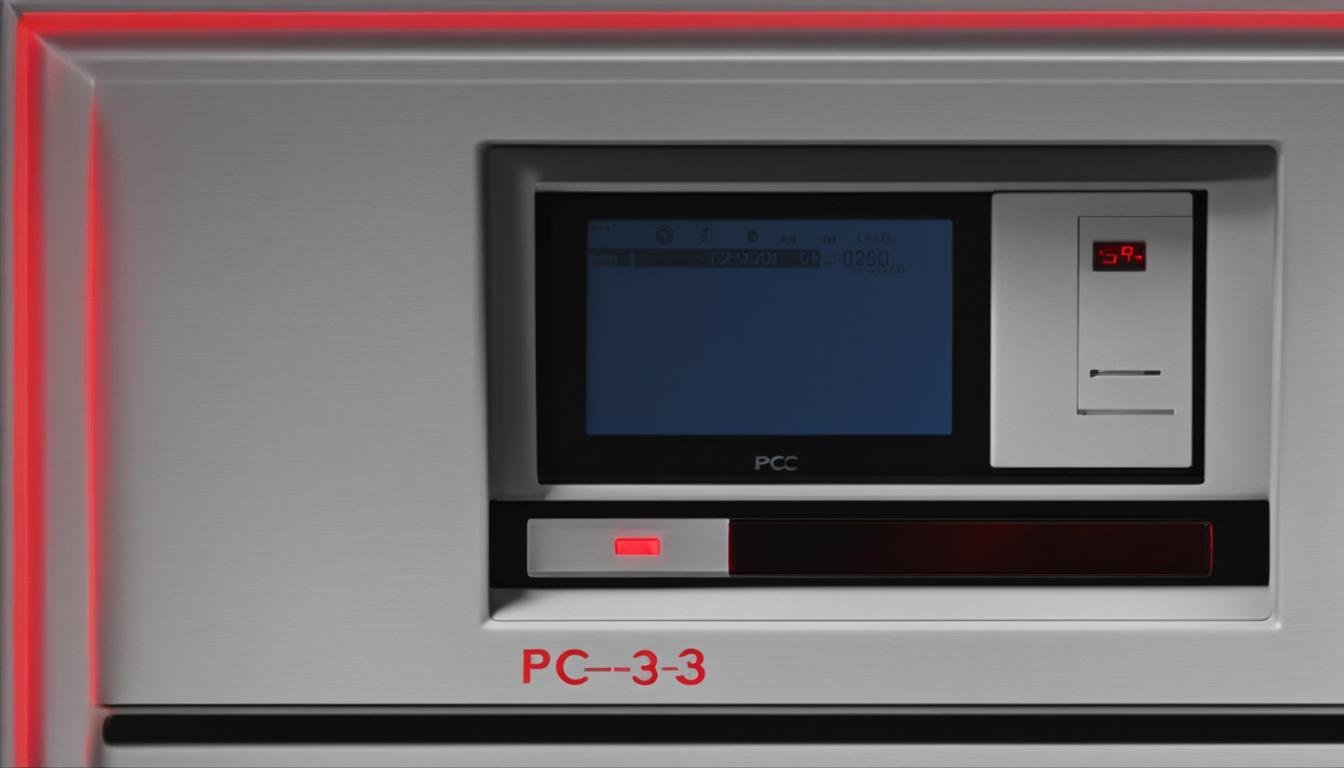
Have you ever encountered the PC03 error code on your Pioneer mini split? It’s a frustrating situation, but don’t worry, we’re here to help you resolve it. Understanding and fixing this error code is crucial to ensure your mini split system functions properly and efficiently. So, let’s dive into the troubleshooting guide and unravel the mystery behind the PC03 error code.
But first, let’s understand what the PC03 error code actually means. When you see this error code on your Pioneer mini split, it indicates a high-pressure or low-pressure protection issue. It’s a signal that your system has encountered a problem that needs attention. Now, let’s get to the bottom of it and find out how you can fix it.
Key Takeaways:
- The PC03 error code on a Pioneer mini split signifies a high-pressure or low-pressure protection issue.
- To resolve the PC03 error code, begin by turning off the unit and the breaker to clear the error code.
- If the error code persists, check the wiring connections, sensors, and consider replacing the PCB if necessary.
- It is recommended to contact a technician for professional assistance in resolving the PC03 error code.
- Understanding and fixing error codes is essential to maintain the optimal performance of your Pioneer mini split system.
Understanding Mini Split Error Codes and System Overview
Mini split systems are an efficient way to control the temperature in individual rooms or areas without the need for ductwork. These systems consist of two units: an outdoor compressor and an indoor handling unit. Error codes are installed in mini split systems to indicate that something has gone wrong. In the case of Pioneer mini splits, each error code represents a specific issue.
It is important to understand the meanings of these error codes in order to properly troubleshoot and resolve any problems that may arise. Common error codes include issues with EEPROM, communication, fan speed, temperature sensors, refrigerant leakage, and more.
**Here is a list of some common error codes along with their meanings:**
| Error Code | Meaning |
|---|---|
| E1 | Indoor and outdoor units communication error |
| F0 | Outdoor ambient temperature sensor failure |
| H6 | Indoor fan motor failure |
| P4 | Low pressure abnormality |
| U2 | EEPROM error |
Having a list of error codes readily available for reference can greatly assist in troubleshooting your mini split system. When you encounter an error code, consult the list to identify the specific issue and take appropriate steps to resolve it.
Now that we understand the error codes, let’s take a closer look at the components of a mini split system.
**Mini Split System Components:**
- Outdoor Compressor: The unit located outside the building that houses the compressor, condenser coil, and the cooling fan.
- Indoor Handling Unit: The unit installed inside the room or area being cooled or heated. It consists of the evaporator coil, blower fan, and controls.
- Refrigerant Lines: These copper lines connect the outdoor compressor and the indoor handling unit, allowing the transfer of refrigerant between the two.
- Remote Control: The device used to control the temperature settings, fan speed, mode, and other functions of the mini split system.
Understanding the various components of a mini split system is essential for proper installation, troubleshooting, and maintenance.
Below is an image illustrating the components of a mini split system:
**Sources:**
– Pioneer official site
– Mini Split Error Code references
Regular Maintenance and Preventive Measures
Regular maintenance plays a crucial role in ensuring the efficient performance of your Pioneer mini split system and preventing potential issues. By scheduling maintenance checks with an HVAC professional twice a year, typically in the spring and fall, you can keep your system running smoothly for years to come.
During these scheduled visits, the HVAC professional will perform a series of tasks to optimize the performance of your mini split system. These tasks may include:
- Cleaning filters to remove dust and debris that can obstruct airflow and reduce efficiency.
- Clearing any debris or vegetation that may have accumulated around the outdoor unit, allowing for proper airflow.
- Checking valves to ensure they are functioning correctly and not causing any leakage or pressure issues.
- Cleaning coils to remove dirt and buildup that can hinder heat transfer and reduce cooling capacity.
- Checking for refrigerant leaks, which can lead to inadequate cooling or heating performance.
By addressing these maintenance tasks, your HVAC professional can identify any potential issues early on and resolve them before they escalate into more significant problems.
Preventive Measures for Mini Split Maintenance
In addition to professional maintenance checks, there are preventive measures you can take to keep your mini split system in top condition between visits:
- Ensure the outdoor unit is free from debris, such as leaves or twigs, and that there are no obstacles blocking the airflow. This allows for proper ventilation and helps maintain optimal system performance.
- Regularly check and clean the filters on your indoor handling unit according to the manufacturer’s instructions. Clean filters promote better air quality and prevent the accumulation of dust and allergens in your living space.
- Pay attention to any unusual smells, sounds, or temperature fluctuations coming from your mini split system. If you notice anything out of the ordinary, contact your HVAC professional for further assessment and troubleshooting.
By taking these preventive measures and being proactive in maintaining your mini split system, you can extend its lifespan, improve energy efficiency, and avoid costly repairs in the long run.

Regular maintenance and preventive measures are essential for the optimal performance and longevity of your Pioneer mini split system. By partnering with an HVAC professional and staying proactive in your maintenance efforts, you can enjoy efficient cooling and heating year-round, while minimizing the risk of system malfunctions.
Conclusion
Pioneer mini split systems are an excellent choice for efficient cooling and heating solutions in smaller spaces, individual rooms, or areas where ductwork is not desired. Understanding and troubleshooting error codes is essential for identifying and resolving issues that may arise with your Pioneer mini split system.
By following a step-by-step troubleshooting guide, you can address common error codes such as the PC03 code. Checking wiring connections, sensors, and replacing faulty components like the PCB, if necessary, can help resolve the issue. However, if you are unsure or encounter persistent problems, it is always recommended to contact a professional technician for assistance.
Regular maintenance is crucial in keeping your Pioneer mini split system running smoothly. Scheduling maintenance checks with an HVAC professional twice a year can help prevent potential issues and ensure optimal performance. Additionally, taking preventive measures such as keeping the outdoor unit free from debris, cleaning filters regularly, and promptly addressing any unusual smells or sounds can prolong the lifespan of your mini split system.
By investing in a Pioneer mini split system, following a troubleshooting guide, and prioritizing regular maintenance, you can enjoy efficient cooling and heating in your space for years to come, while confidently resolving error codes and minimizing the need for costly repairs.
FAQ
How do I fix the PC03 error code on my Pioneer mini split?
To fix the PC03 error code on your Pioneer mini split, you can follow these troubleshooting steps: 1) Turn off the unit and the breaker to clear the error code. 2) Wait a few minutes, then turn the unit back on and check if the error code is gone. 3) If the code persists, check the wiring connections and sensors for any malfunctions or breaks. 4) If everything seems fine, it may be necessary to replace the PCB. It is recommended to contact a technician for professional assistance in resolving the PC03 error code.
What do the error codes in mini split systems indicate?
Error codes in mini split systems indicate specific issues that need attention. Each error code represents a different problem, such as EEPROM, communication, fan speed, temperature sensors, refrigerant leakage, and more. Understanding the meaning of these error codes is essential for troubleshooting and resolving any problems that may arise.
How often should I schedule maintenance for my Pioneer mini split system?
It is recommended to schedule maintenance checks with an HVAC professional for your Pioneer mini split system twice a year. These checkups are typically done in the spring and fall. During the maintenance visits, the technician will perform tasks such as cleaning filters, checking valves, clearing debris around the outdoor unit, cleaning coils, and checking for refrigerant leaks. Regular maintenance helps keep your mini split system running efficiently and prevents potential issues.
What preventive measures can I take to maintain my mini split system?
In between professional maintenance visits, there are some preventive measures you can take to maintain your mini split system. Keep the outdoor unit free from debris and ensure there are no obstacles blocking airflow. Regularly check and clean filters as needed. Pay attention to any unusual smells, sounds, or temperature fluctuations and contact your technician if you notice any issues. By being proactive and performing regular maintenance, you can prolong the lifespan of your mini split system and avoid costly repairs.
Leave a Reply