If you’re experiencing the error code 3 beeps on your Sentry Safe, we’re here to help you troubleshoot and resolve the issue. This guide will provide you with step-by-step instructions to fix the beeping problem and ensure the smooth operation of your safe.
Key Takeaways:
- Check the battery level of your safe’s electronic lock and replace with non-expired alkaline batteries if necessary.
- Program and manage user codes properly to avoid any issues with accessing your safe.
- Follow the correct battery installation process to ensure optimal performance.
- Contact Sentry Safe customer support for further assistance or troubleshooting tips tailored to your specific model.
- Keep track of your codes and avoid easily guessable combinations to maintain the security of your safe.
Programming and Troubleshooting User Codes
When it comes to programming user codes on your Sentry Safe, there are a few different methods depending on the model. Let’s explore some of the common steps and troubleshooting tips.
Method 1: Factory Code
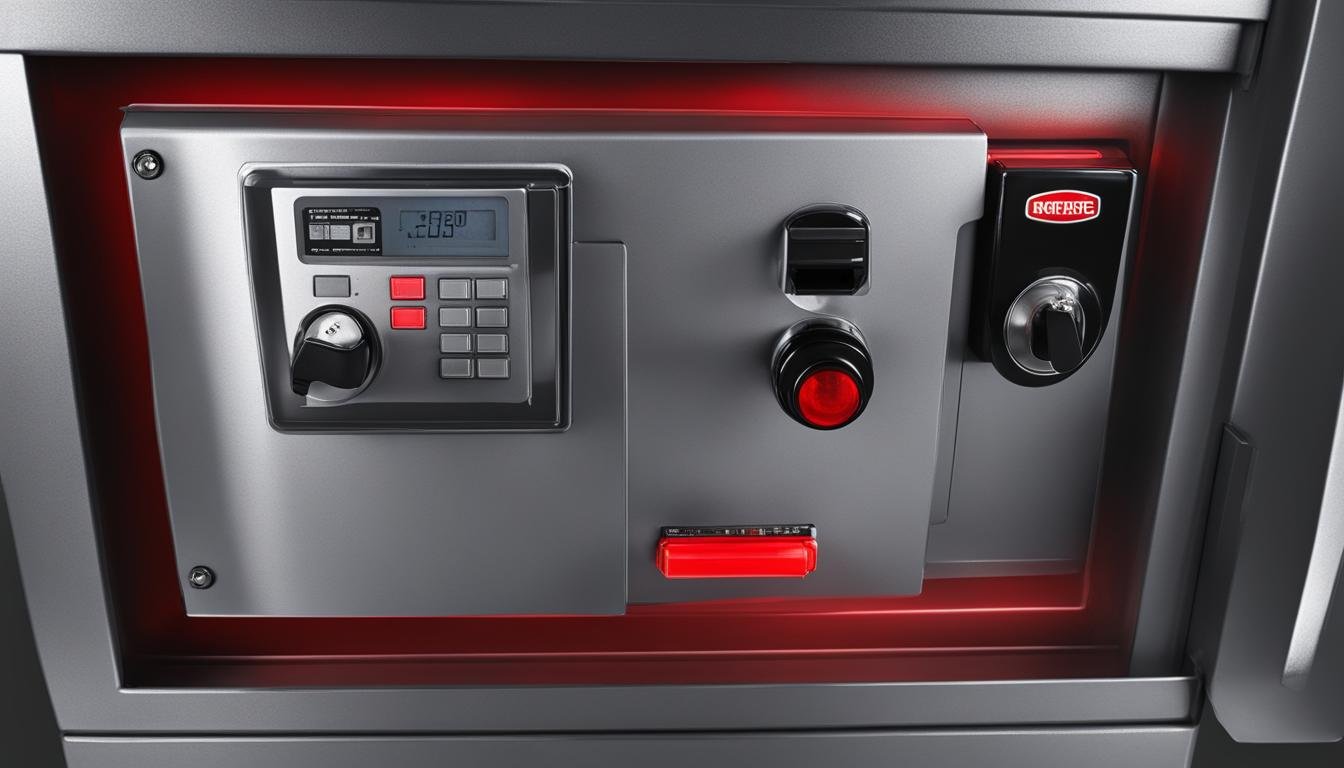
To begin programming a user code, locate the Program key on your Sentry Safe. Press and hold the Program key until the digital keypad beeps. Next, enter the factory code, which can usually be found in the manual or on the back cover of the safe. Once entered, you will hear another beep. Finally, enter your desired 5-digit user code and wait for the confirmation beep. Remember to choose a code that is easy for you to remember but difficult for others to guess.
Method 2: Red Button
Another commonly used method is to locate the red button inside your safe. Press and release the red button, and the digital keypad will light up. Enter a 5-digit user code and wait for the confirmation beep. To program additional user codes, repeat the process and enter the new code. It’s important to keep track of the codes you program and avoid using combinations that are easily guessable.
Method 3: Temporary Access
If you need to provide temporary access to someone, you can program a passcode that can later be easily erased. Follow the programming steps for Method 1 or Method 2 to create a temporary user code. To erase the temporary code, simply reprogram another user code or follow the specific instructions provided in your safe’s manual.
Remember, troubleshooting sentry safe issues related to user codes can often be resolved by referring to the manual for your specific model. If you encounter any challenges or have further questions, it is recommended to contact Sentry Safe customer support for accurate troubleshooting tips and guidance tailored to your needs.
Battery Installation and Low Battery Indicator
When your Sentry Safe is beeping, it could be a sign that the batteries need to be replaced. In this section, we will guide you through the process of installing new batteries and how to recognize the low battery indicator on your safe.
To begin, follow these steps:
- Remove the keypad by rotating the cover counterclockwise and pulling it towards you.
- Unlock the door with the override key and open it using the lever handle.
- Inside the door, you’ll find the key hook plate. Slide it upward and pull it towards you to remove it.
- Insert four alkaline AA batteries into the designated slots, following the indicated polarity.
- Replace the key hook plate and secure it in place.
- Finally, reattach the keypad by aligning it with the safe and rotating the cover clockwise until it locks into position.
Once the new batteries are installed, the low battery indicator will reset, and the beeping should cease. It is important to use high-quality alkaline batteries to ensure optimal performance and avoid future beeping issues.
If you continue to experience beeping or encounter any difficulties during the battery installation process, it is recommended to reach out to Sentry Safe customer support. Their team of experts can provide further assistance and guide you through the troubleshooting process.
Low Battery Indicator
The low battery indicator on your Sentry Safe serves as a warning that the battery power is running low. It is essential to address this issue promptly to prevent any lockouts or access failures.
When the batteries are nearing depletion, the low battery indicator may manifest in different ways, depending on your model. Some safes have an LED light that illuminates when the battery power is low, indicating the need for battery replacement. Other models may emit a series of beeps, alerting the user to replace the batteries.
Monitoring the low battery indicator regularly and promptly replacing the batteries when necessary will help ensure the smooth functioning of your Sentry Safe and avoid any potential access issues.
Now that you know how to install batteries and understand the importance of the low battery indicator, you can confidently address beeping and battery-related issues with your Sentry Safe.
Conclusion
In conclusion, troubleshooting and fixing the error code 3 beeps on your Sentry Safe is a relatively straightforward process. By following the steps outlined in this article, you can resolve this issue and regain access to your safe.
First and foremost, it is important to check the battery level of your safe’s electronic lock. Low or expired batteries can often cause the beeping sound. Make sure to use reputable, non-alkaline batteries, preferably alkaline ones for optimal performance.
Additionally, pay attention to properly program user codes on your Sentry Safe. Using the incorrect codes or easily guessable combinations can result in access issues. Be sure to follow the instructions specific to your model and keep track of the codes you have programmed.
If you encounter any difficulties during the troubleshooting process or have further questions, do not hesitate to reach out to Sentry Safe customer support. They have a team of experts who can provide additional assistance and guidance tailored to your specific safe model.
FAQ
How do I fix the Sentry Safe error code 3 beeps?
If you are experiencing the error code 3 beeps on your Sentry Safe, try checking the battery level of the electronic lock. Ensure that you are using fresh alkaline batteries and avoid using rechargeable ones. Make sure the batteries are not expired and are from a reputable brand. If the error persists, it is recommended to contact Sentry Safe customer support for further assistance.
How do I program user codes on my Sentry Safe?
To program user codes on your Sentry Safe, there are a few different methods depending on the model. One method is to press the Program key, enter the factory code (which can be found in the manual or on the back cover of the safe), and then enter your desired 5-digit user code. Another method is to press the red button inside the safe, enter a 5-digit user code, and repeat the process to enter additional user codes. Remember to keep track of your codes and avoid using easily guessable combinations.
How do I install batteries in my Sentry Safe?
To install batteries in your Sentry Safe, remove the keypad by rotating the cover counterclockwise and pulling it towards you. Unlock the door with the override key and open it using the lever handle. Inside the door, you’ll find the key hook plate, which can be removed by sliding it upward and pulling it towards you. Insert four alkaline AA batteries as indicated and replace the key hook plate and keypad.
What should I do if my Sentry Safe is beeping?
If your Sentry Safe is beeping, it is likely a low battery indicator. Check the battery level of the electronic lock and replace the batteries if necessary. Ensure that you are using fresh alkaline batteries and avoid using rechargeable ones. If the beeping persists, it is recommended to contact Sentry Safe customer support for further assistance.

Leave a Reply