If you own a Whirlpool Cabrio dryer, you might be shocked to learn that the F1 code is a frequent headache for many users. This error code, indicating a main control failure, can disrupt your laundry routine and leave you puzzled about how to fix it.
But fear not! In this article, we’re here to provide you with a comprehensive guide on troubleshooting and resolving the F1 code on your Whirlpool Cabrio dryer. Whether you’re a DIY enthusiast or prefer professional assistance, we have you covered.
Key Takeaways:
- The F1 code on a Whirlpool Cabrio dryer indicates a main control failure.
- Various issues can trigger the F1 code, making it essential to follow troubleshooting steps.
- Understanding common error codes of Whirlpool Cabrio dryers can help with diagnosis and resolution.
- If troubleshooting fails, replacing the control panel may be necessary to fix the F1 code.
- Follow our step-by-step guide to replacing the control panel if needed.
Common Error Codes of Whirlpool Cabrio Dryer
If you own a Whirlpool Cabrio dryer, it’s important to familiarize yourself with the common error codes that may appear on the display. These error codes are invaluable in diagnosing and troubleshooting issues with your dryer. By understanding what each error code indicates, you can take appropriate steps to resolve the problem quickly.
Here are some of the most frequently encountered error codes on Whirlpool Cabrio dryers:
| Error Code | Description |
|---|---|
| F1 | Main control failure |
| F2 | Excessive lint build-up |
| F3 | Temperature sensor failure |
| F4 | Thermal fuse blown |
| F5 | Door switch failure |
If you encounter any of these error codes on your Whirlpool Cabrio dryer, don’t panic. Each code corresponds to a specific issue, and you can address it accordingly. Refer to your dryer’s user manual for detailed instructions on how to resolve the specific error code.
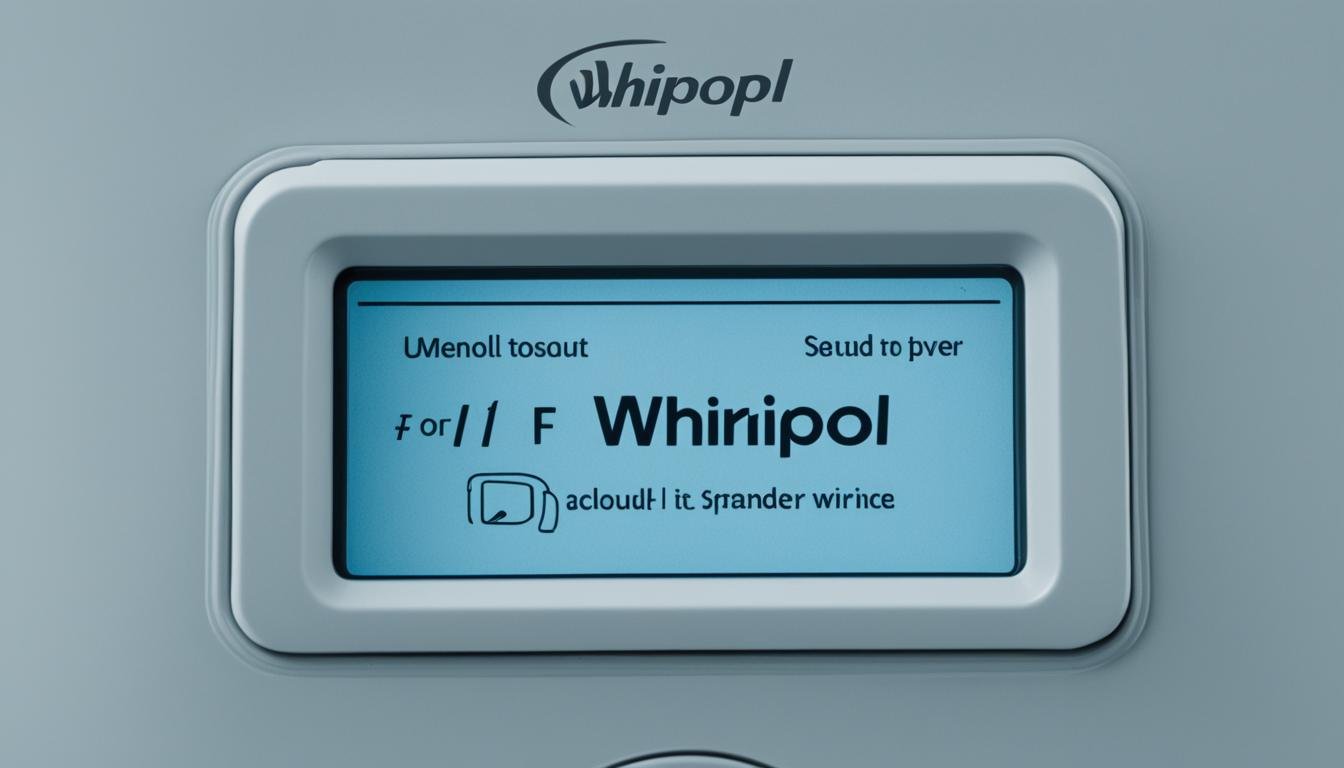
The image above showcases the Whirlpool Cabrio dryer, providing a visual reference as we discuss common error codes.
Replacing the Control Panel for Whirlpool Cabrio Dryer F1 Code
If you have tried all the troubleshooting steps and the F1 code on your Whirlpool Cabrio dryer persists, it may be necessary to replace the control panel. The control panel is a critical component of the dryer’s operation and can be the underlying cause of the F1 code.
To replace the control panel, follow these step-by-step instructions:
- Unplug the dryer from the power source to ensure safety during the replacement process.
- Locate the screws that secure the control panel to the top of the dryer. Use a screwdriver to remove these screws and carefully lift off the control panel.
- Disconnect the wiring harnesses connected to the control panel. Take note of their positions or label them to make reassembly easier.
- Install the new control panel by connecting the wiring harnesses to their respective connectors. Ensure a secure and proper connection.
- Align the control panel with the top of the dryer and insert the screws to secure it in place. Tighten the screws using a screwdriver, but be cautious not to overtighten.
- Plug the dryer back into the power source and turn it on to test if the F1 code has been resolved.
If the F1 code still appears after replacing the control panel, it is recommended to contact a professional technician or the Whirlpool customer service for further assistance.
Remember to always prioritize your safety and unplug the dryer before attempting any repairs or replacements. If you are not confident in your DIY skills, it is advisable to seek professional help to avoid any potential risks or further damage to your appliance.
FAQ
What does the F1 code on a Whirlpool Cabrio dryer mean?
The F1 code indicates a main control failure in the dryer. It can be caused by various issues.
How can I troubleshoot the F1 code on my Whirlpool Cabrio dryer?
To troubleshoot the F1 code, you can try the following steps:
1. Unplug the dryer and leave it unplugged for a few minutes.
2. Plug the dryer back in and see if the F1 code clears.
3. Check for loose connections on the control board and tighten them if necessary.
4. Inspect the control board for any signs of damage or burning.
5. Reset the control board by flipping the circuit breaker or unplugging the dryer for a longer period of time.
If the F1 code persists after these troubleshooting steps, further diagnosis or repair may be required.
What are some other error codes that Whirlpool Cabrio dryers may display?
Whirlpool Cabrio dryers can display various error codes to indicate specific issues or malfunctions. Some common error codes include but are not limited to: F2, F3, F4, F6, F7, F8, F9, F20, F22, F23, F26, F28, F29, F30, F31, F32, F70, F71, and F72. Each error code corresponds to a specific problem that may require separate troubleshooting steps.
How do I replace the control panel for my Whirlpool Cabrio dryer with the F1 code?
If you have tried all the troubleshooting steps and the F1 code on your Whirlpool Cabrio dryer persists, replacing the control panel may be necessary. Here’s a step-by-step guide to replacing the control panel:
1. Unplug the dryer from the power source.
2. Remove the screws that secure the top panel to the dryer.
3. Lift the top panel up and support it with something.
4. Disconnect the wiring harnesses from the control board.
5. Remove the screws that secure the control panel to the dryer.
6. Lift the control panel up and remove it from the dryer.
7. Install the new control panel by following the steps in reverse order.
8. Reconnect the wiring harnesses to the control board.
9. Lower the top panel back into place and secure it with the screws.
10. Plug the dryer back into the power source.
Once the control panel is replaced, test the dryer to see if the F1 code is resolved.
Leave a Reply